MonoRail
MonoRail Kits
Contains every component needed to install a MonoRail lighting system.
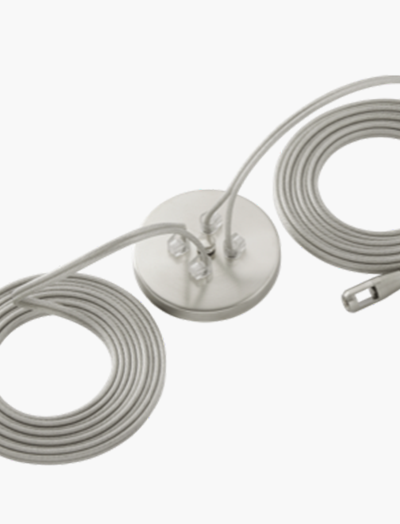
MONORAIL 300W
REMOTE KIT
Finish Options
- Antique Bronze
- Satin Nickel
Kit Overview:
- (1 qty) 96” MonoRail
- (2 qty) End Caps
- (1 qty) 300W Remote Transformer
- (1) 4” Low-Profile Ceiling Canopy
- (2 qty) Rigid Stand-Offs
MONORAIL SURFACE
TRANSFORMER 150W KIT
Finish Options
- Aged Brass
- Antique Bronze
- Satin Nickel
Kit Overview:
- (1 qty) 96” MonoRail
- (2 qty) End Caps
- (1 qty) 150W Surface Mount Transformer
- (2 qty) Rigid Stand-Offs
MONORAIL MINI
TRANSFORMER
250W KIT
Finish Options
- Aged Brass
- Satin Nickel
Kit Overview:
- (1 qty) 96” MonoRail
- (2 qty) End Caps
- (1 qty) 250W Surface Mount Transformer
- (1) 4” Low-Profile Ceiling Canopy
- (2 qty) Rigid Stand-Offs
MonoRail Components
All the parts you need to create a minimal or custom MonoRail installation.

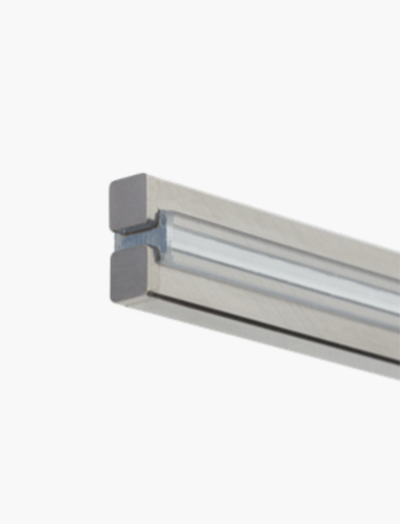
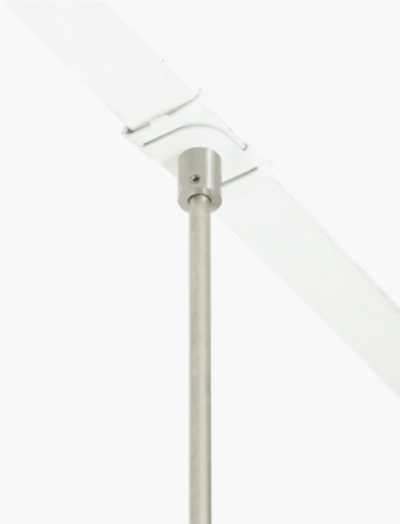
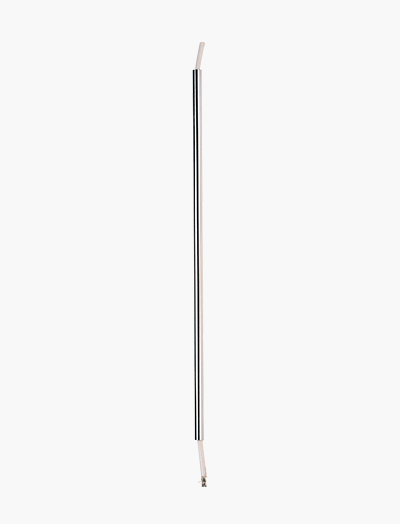
MONORAIL
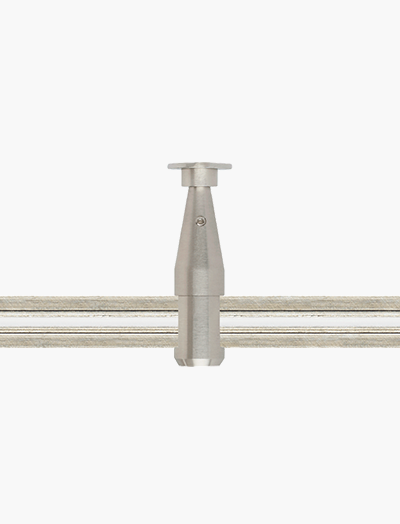
RIGID STANDOFF
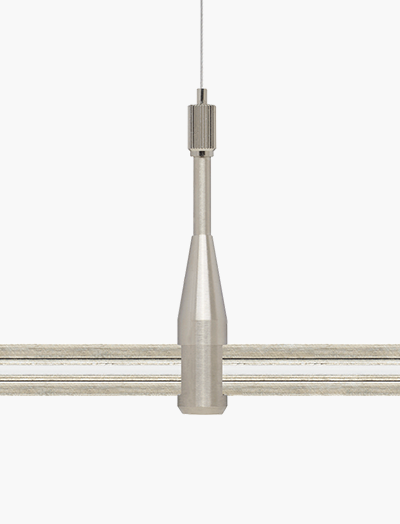
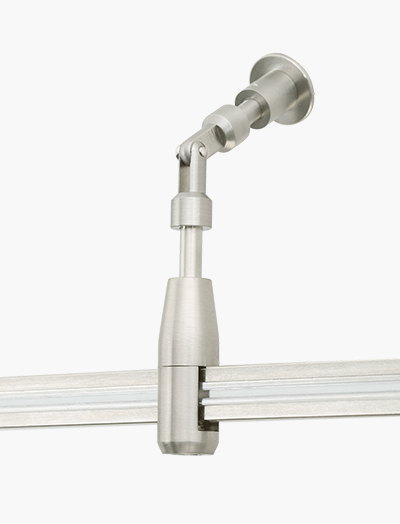
ADJUSTABLE STANDOFF
VAULT ADAPTER STANDOFF
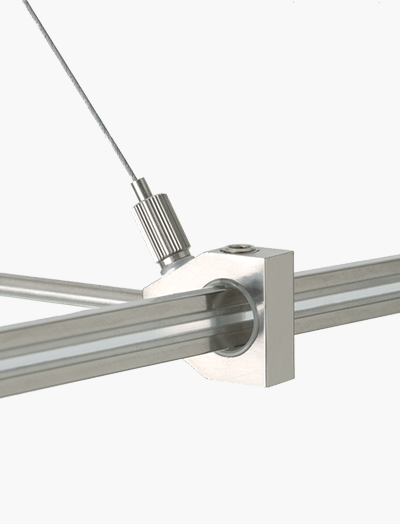
OUTSIDE RIGGER SUPPORT
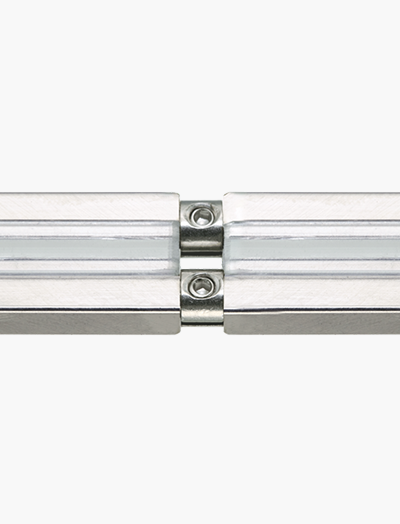
CONDUCTIVE CONNECTOR
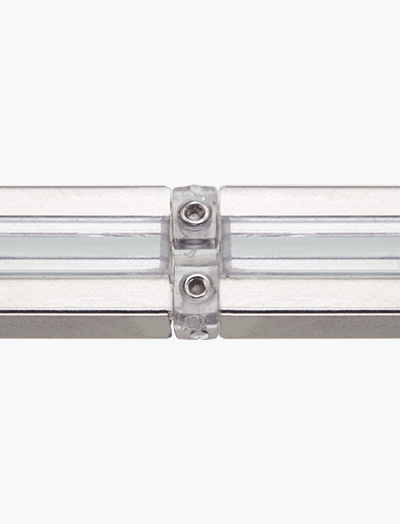
ISOLATING CONNECTOR
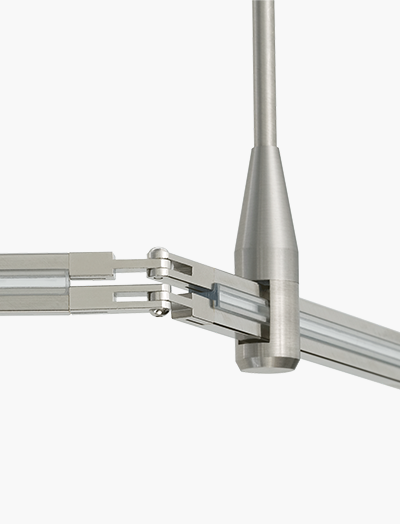
FLEXIBLE CONNECTOR
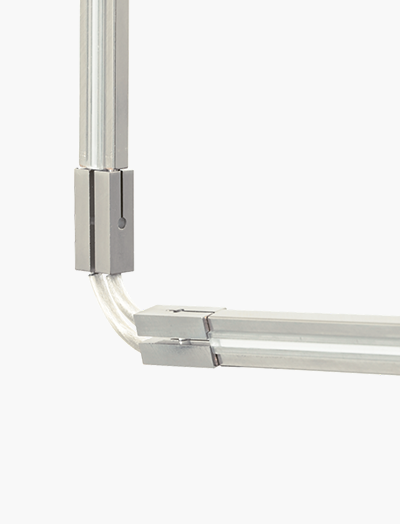
FLEXIBLE VERTICAL
CONNECTOR

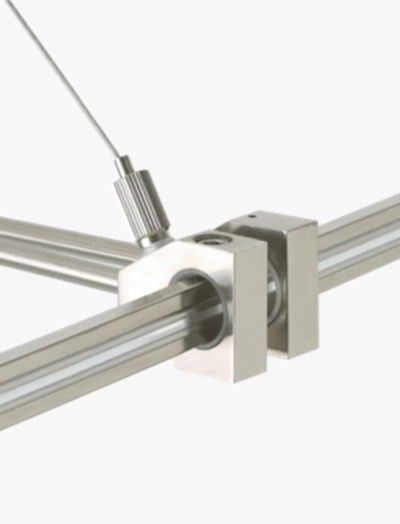
T CONNECTOR

X CONNECTOR
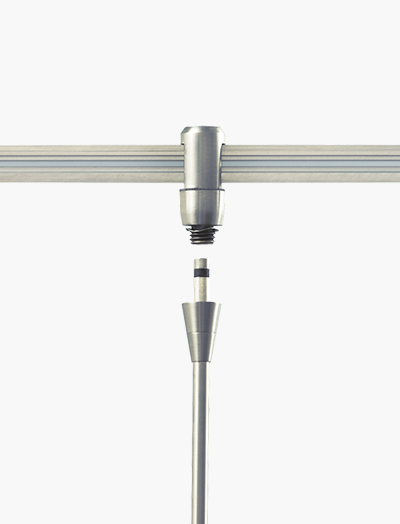
MONORAIL FREEJACK CONNECTOR
END CAPS
T-BAR CONNECTOR
MonoRail Heads
Architectural Heads to compliment your MonoRail system.
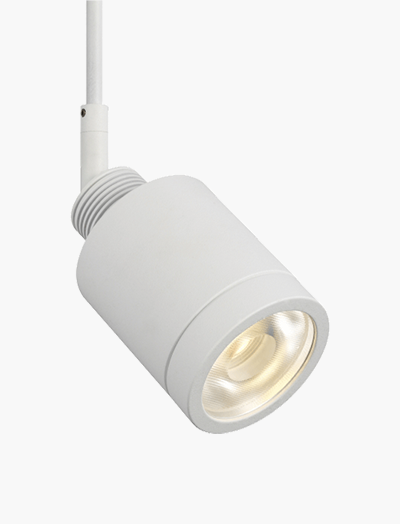
TELLIUM LED
Designer: Sean Lavin
Finish Options
- Aged Brass
- Antique Bronze
- Satin Nickel
- White

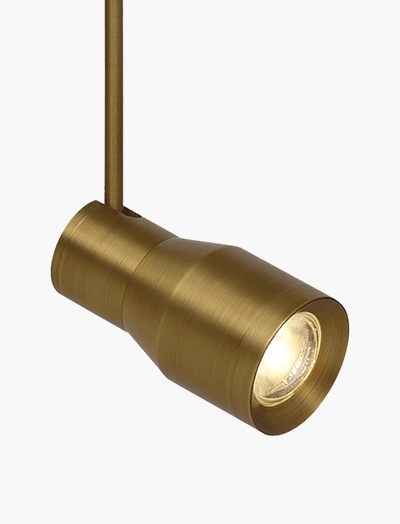
TELLIUM
Designer: Sean Lavin
Finish Options
- Aged Brass
- Antique Bronze
- Satin Nickel
- White
ACE LED
Designer: Sean Lavin
Finish Options
- Antique Bronze
- Satin Nickel
- Plated Brass
ISO LED
Designer: Sean Lavin
Finish Options
- Aged Brass
- Satin Nickel
- White
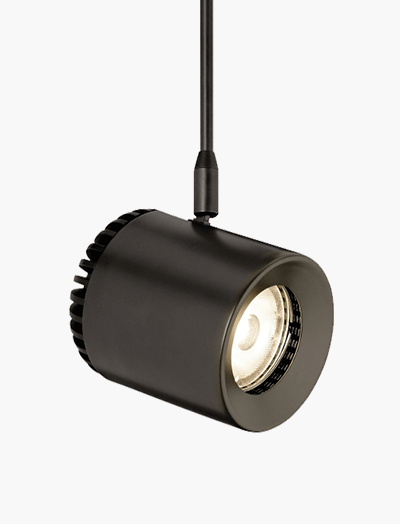
BURK LED
Designer: Sean Lavin
Finish Options
- Aged Brass
- Antique Bronze
- Black
- Satin Nickel
- White

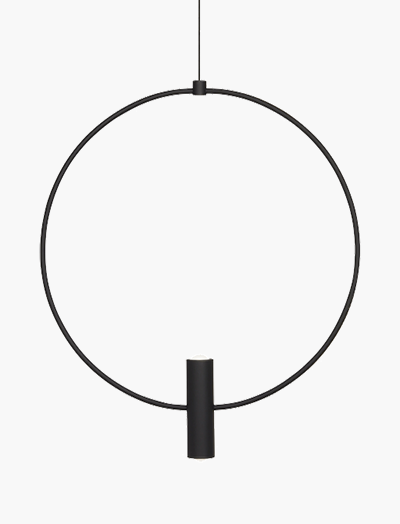
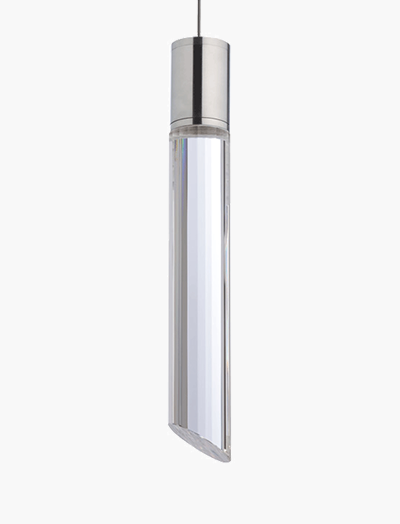
BRIM LED
Designer: Sean Lavin
Finish Options
- Clear/Matte Black
- Clear/Satin Nickel
- Transparent Smoke/Matte Black
- Transparent Smoke/Satin Nickel
BOLT
Designer: Sean Lavin
Finish Options
- Satin Nickel
- White
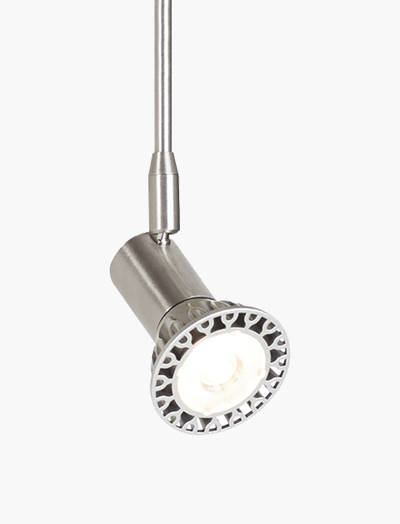
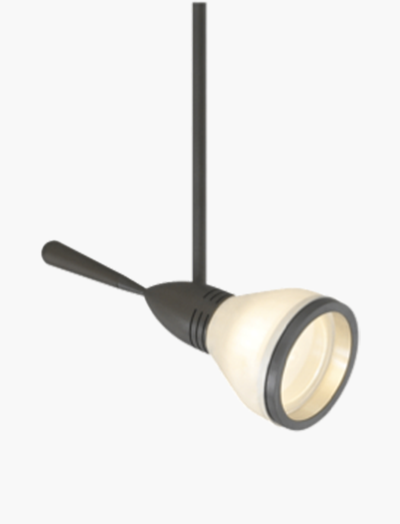
TILT
Designer: Sean Lavin
Finish Options
- Antique Bronze
- Satin Nickel
- Accessory Required
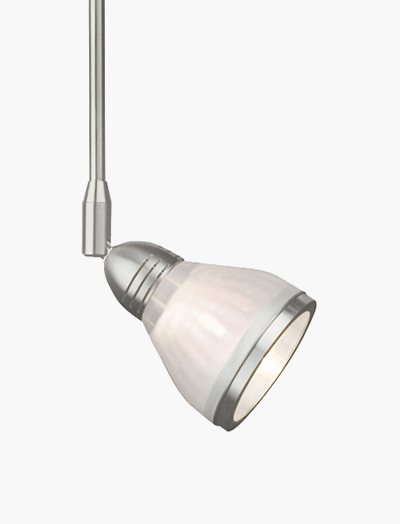
ELTON
Designer: Sean Lavin
Finish Options
- Antique Bronze
- Satin Nickel
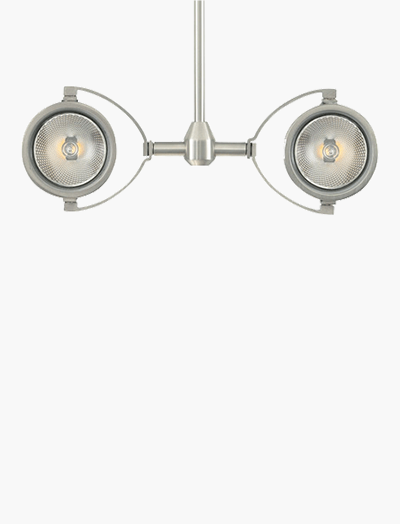
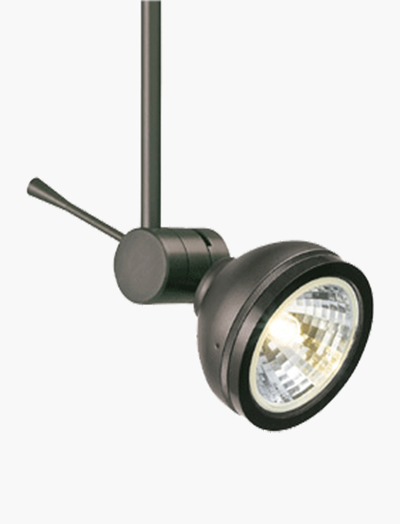
AERO
Designer: Sean Lavin
Finish Options
- Antique Bronze
- Satin Nickel
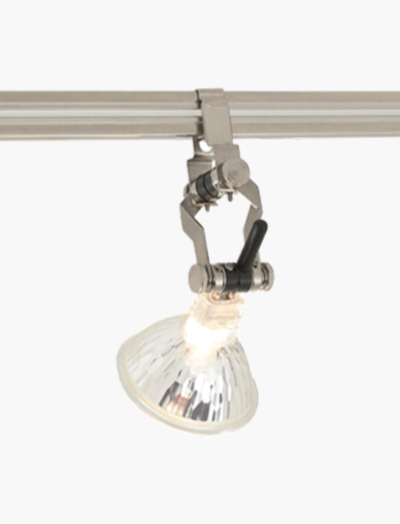
MO-PIVOT
Designer: Sean Lavin
Finish Options
- Antique Bronze
- Satin Nickel
SPROCKET
Designer: Sean Lavin
Finish Options
- Antique Bronze
- Satin Nickel
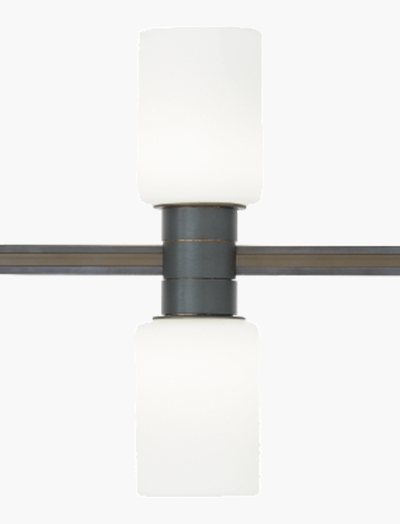
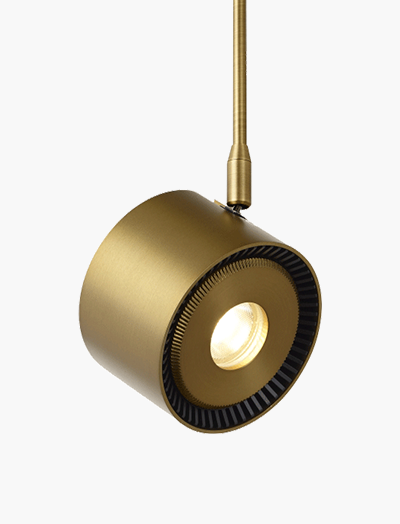
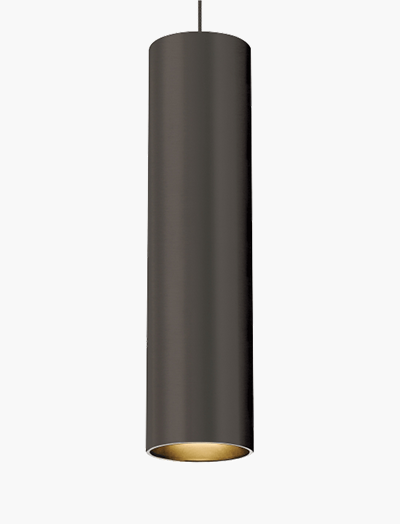
CYLINDERS LED
Designer: Sean Lavin
Finish Options
- Aged Brass
- Antique Bronze
- Satin Nickel
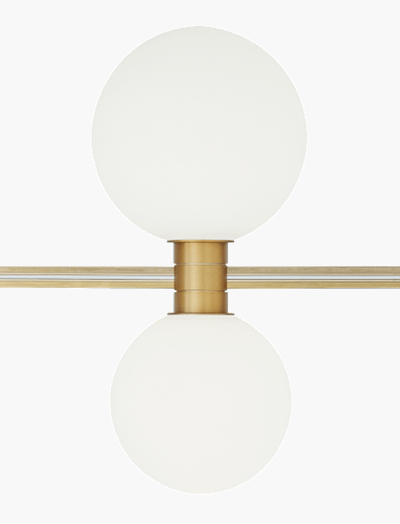
ORBS LED
Designer: Sean Lavin
Finish Options
- Aged Brass
- Antique Bronze
- Satin Nickel

JOHN
Designer: Sean Lavin
- Finish Options
- Antique Bronze
- Satin Nickel
MonoRail Pendants
Decorative Pendants to compliment your MonoRail system.
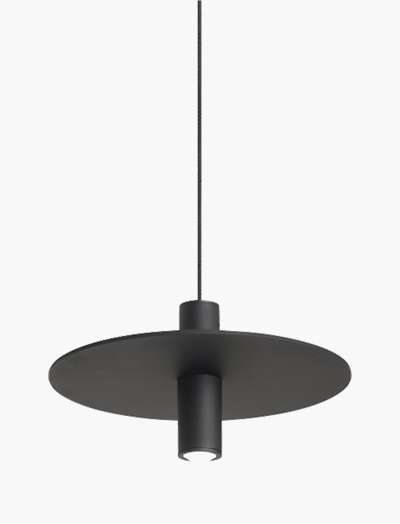
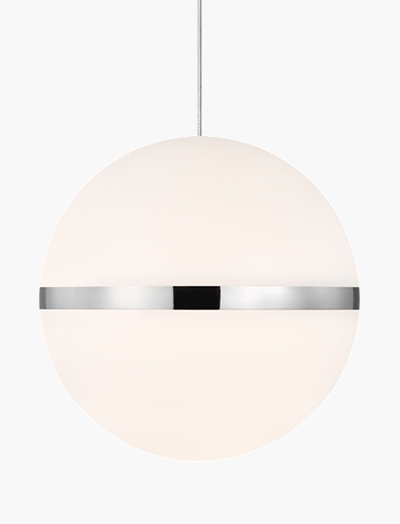
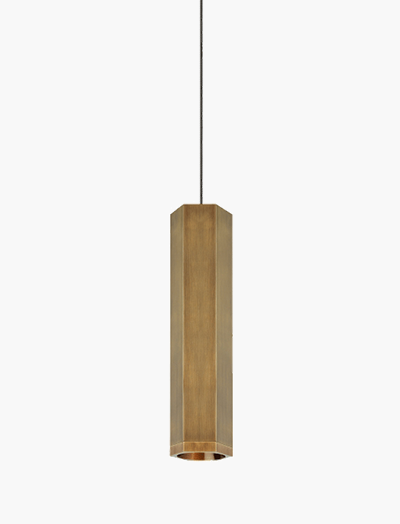
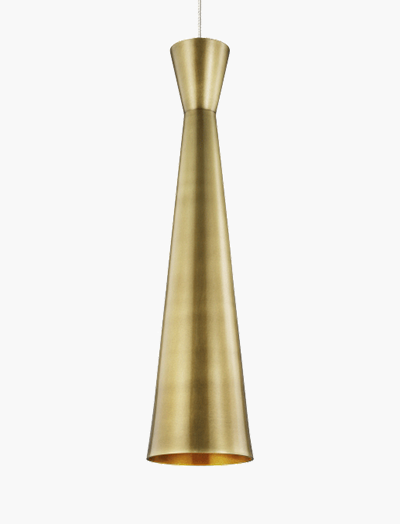
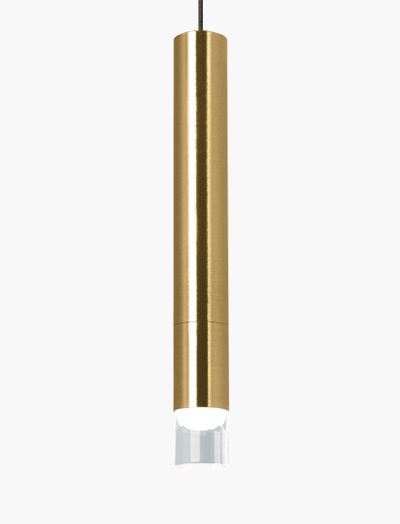
PONTE MINI
Designer: Sean Lavin
Finish Options
- Natural Brass
- Nightshade Black
- Satin Nickel
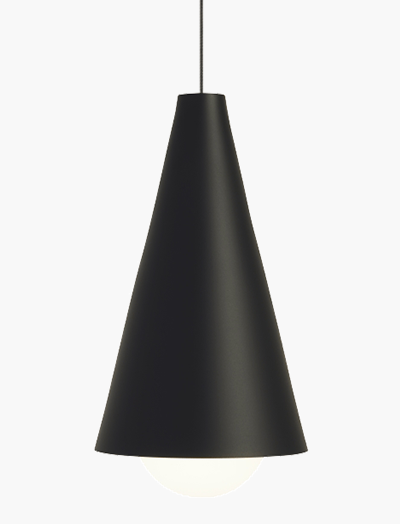
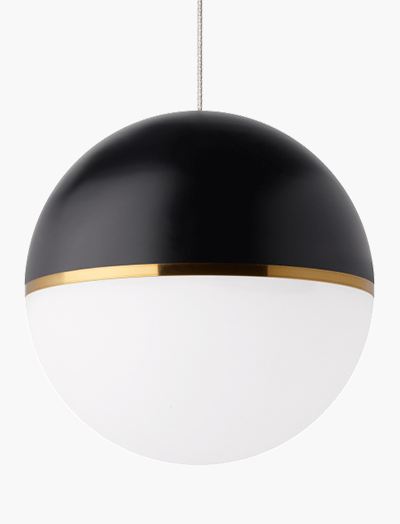
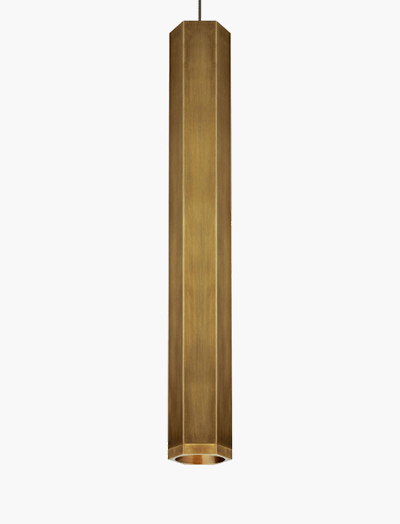
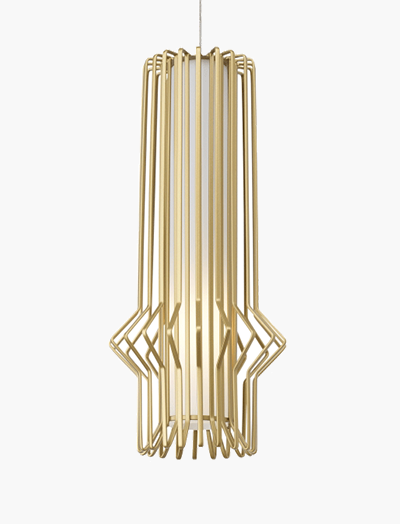
JONI MINI
Designer: Sean Lavin
Finish Options
- Natural Brass
- Nightshade Black
- Satin Nickel
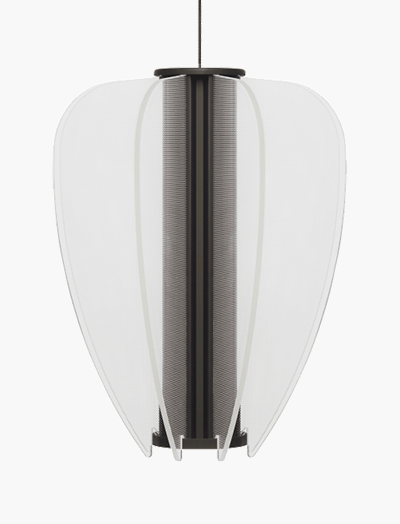
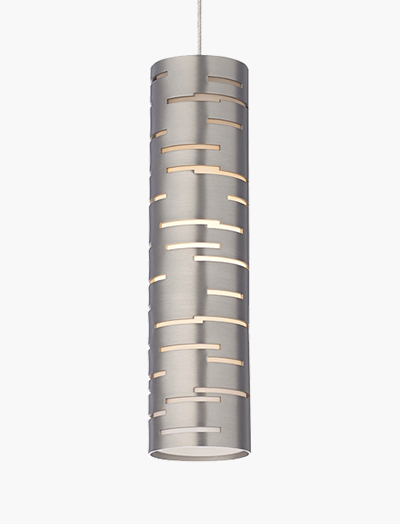
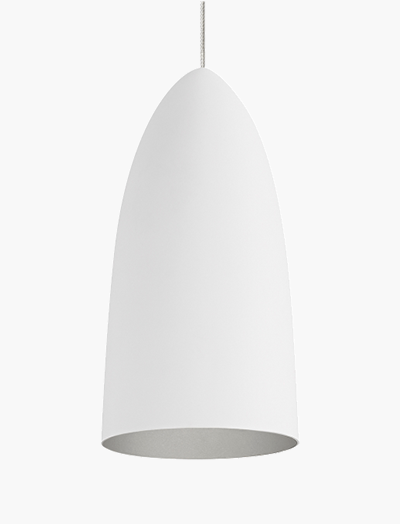
NYRA MINI
Designer: Sean Lavin
Finish Options
- Nightshade Black
- Plated Brass
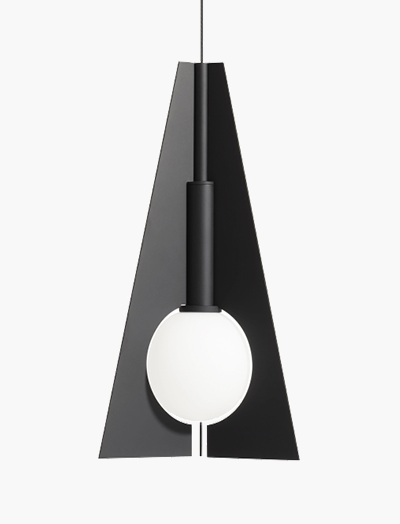
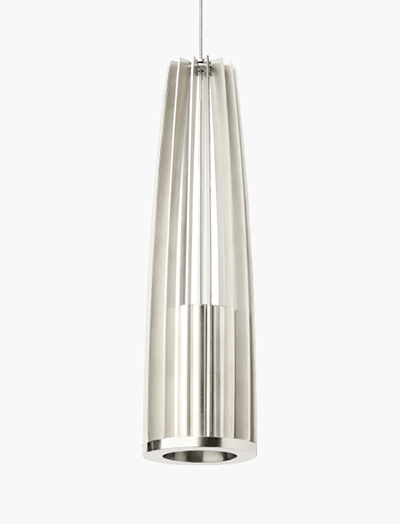
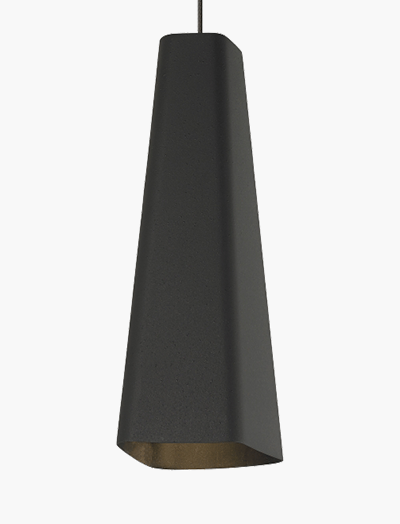
ORBEL PYRAMID MINI
Designer: Sean Lavin
Finish Options
- Natural Brass
- Nightshade Black
- Satin Nickel
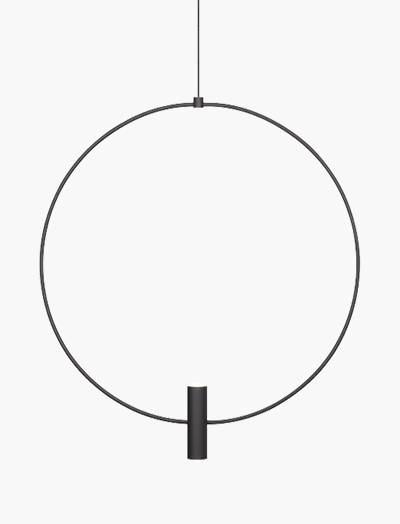
HANEA MINI
Designer: Sean Lavin
Finish Options
- Natural Brass
- Nightshade Black
- Satin Nickel
AKOVA
Designer: Sean Lavin
Glass Options
- Aged Brass/Bright Brass
- Matte Black/Aged Brass
Finish Options
- Aged Brass
- Satin Nickel
LAYLA MINI LARGE
Designer: Sean Lavin
Finish Options
- Natural Brass
- Nightshade Black
- Satin Nickel
LAYLA MINI MEDIUM
Designer: Sean Lavin
Finish Options
- Natural Brass
- Nightshade Black
- Satin Nickel
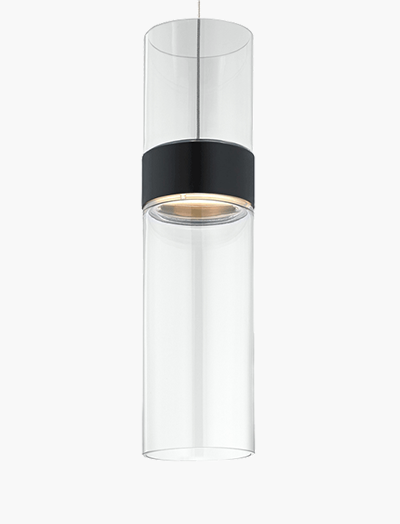
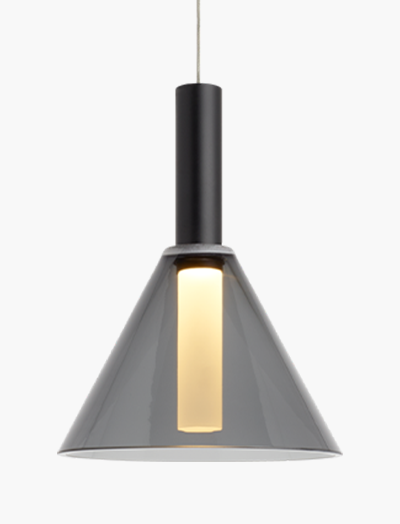
MANETTE MINI
Designer: Sean Lavin
Glass Options
- Clear/Clear
- Transparent Smoke/Transparent Smoke
Finish Options
- Antique Bronze/AntiqueBronze
- Black/Satin Nickel
- Satin Nickel/Satin Nickel
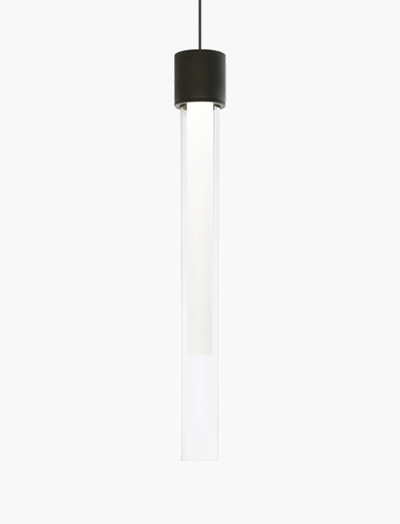
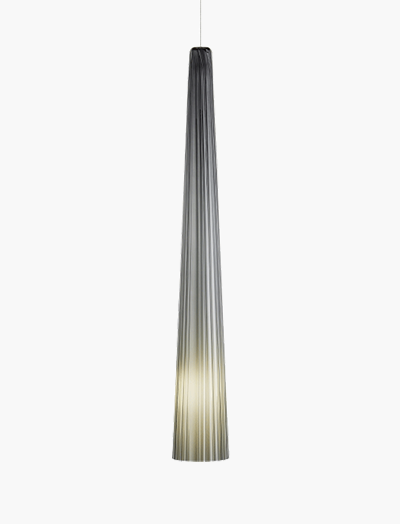
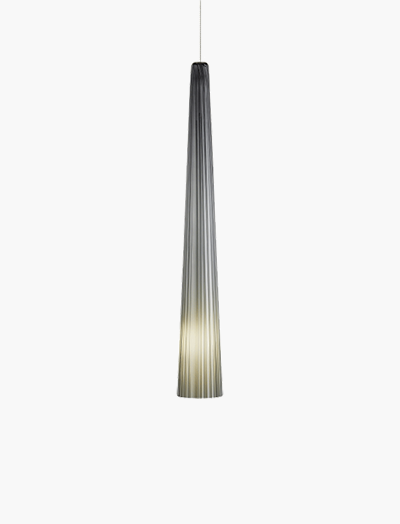
LINGER MINI
Designer: Sean Lavin
Glass Options
- Frost
Finish Options
- Natural Brass
- Nightshade Black
- Satin Nickel
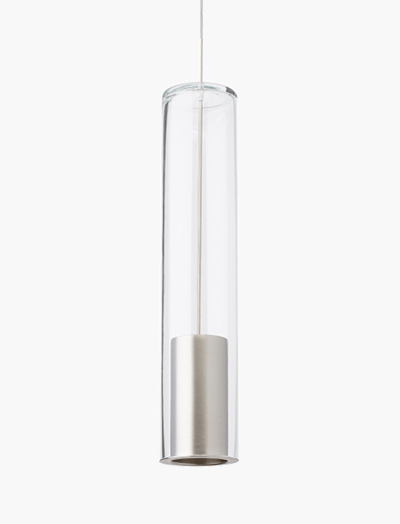
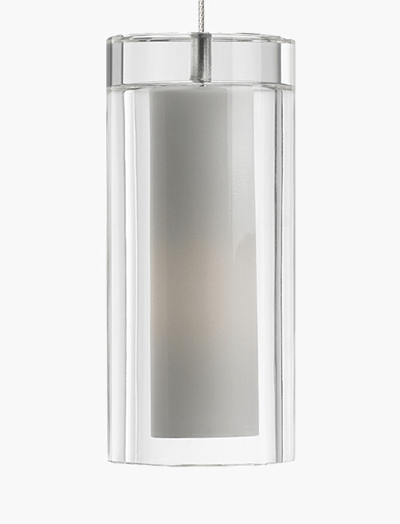
CAPTRA MINI
Designer: Sean Lavin
Glass Options
- Clear
Finish Options
- Aged Brass
- Satin Nickel
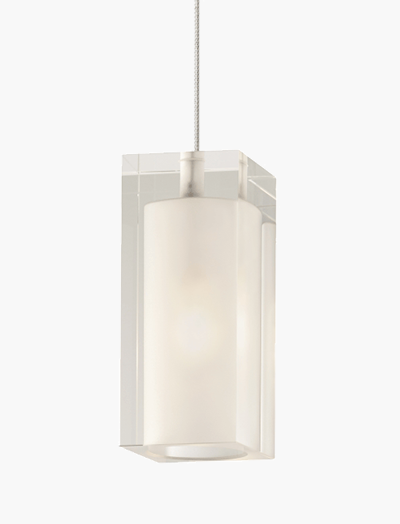
TIBOR MINI
Designer: Sean Lavin
Glass Options
- Clear
Finish Options
- Black
- Satin Nickel
PIPER MINI
Designer: Sean Lavin
Finish Options
- Aged Brass
- Antique Bronze/AntiqueBronze
- Black/Satin Nickel
- Satin Nickel/Satin Nickel
- White/Satin Nickel
BLOK MINI SMALL
Designer: Sean Lavin
Finish Options
- Aged Brass/Aged Brass
- Matte Black/Satin Nickel
BLOK MINI LARGE
Designer: Sean Lavin
Finish Options
- Aged Brass/Aged Brass
- Matte Black/Satin Nickel
WINDSOR MINI
Designer: Sean Lavin
Finish Options
- Black
- Concrete
- Plated Brass
SYRMA MINI
Designer: Sean Lavin
Finish Options
- Matte Black
- Satin Gold
REVEL MINI
Designer: Sean Lavin
Glass Options
- Antique Bronze
- Gloss Black
- Satin Nickel
Finish Options
- Antique Bronze
- Satin Nickel
EVOX MINI
Designer: Sean Lavin
Finish Options
- Antique Bronze
- Satin Nickel
RHONAN MINI
Designer: Sean Lavin
Finish Options
- Textured Black
MOXY MINI
Designer: Sean Lavin
Finish Options
- Aged Brass
- Satin Nickel
POWEL STREET MINI
Designer: Sean Lavin
Glass Options
- Black/White
- Satin Nickel/White
- White/White
Finish Options
- Satin Nickel
SIGNAL MINI
Designer: Sean Lavin
Glass Options
- Rubberized Gray/Gold
- Rubberized Gray/Platinum
- Rubberized Gray/Copper
- Rubberized Gray/Blue
- Rubberized White/Gold
- Rubberized White/Platinum
- Rubberized White/Copper
- Rubberized White/Blue
Finish Options
- Satin Nickel
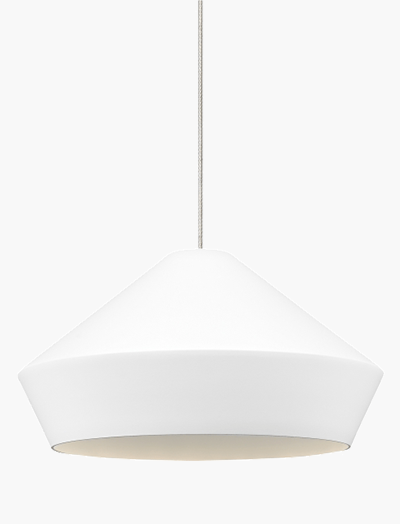
BRUMMEL MINI
Designer: Sean Lavin
Finish Options
- Matte Charcoal Gray
- Matte White
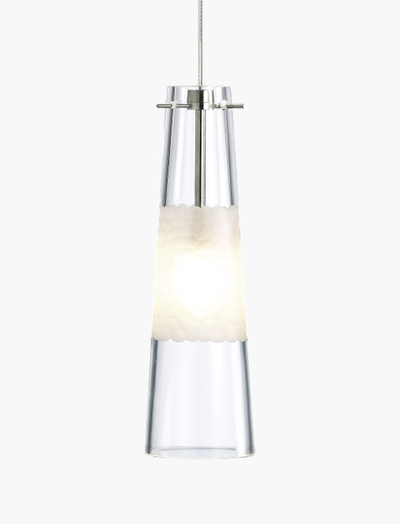
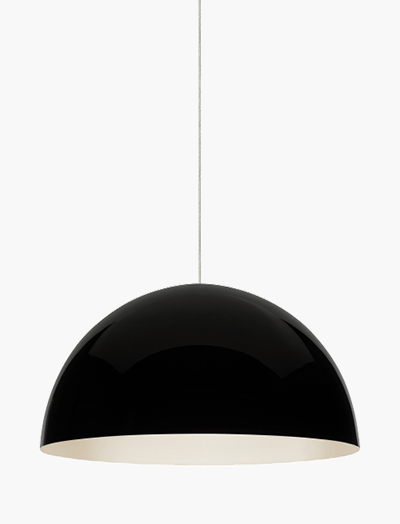
BONN MINI
Designer: Sean Lavin
Glass Options
- Clear
- Smoke
Finish Options
- Antique Bronze
- Satin Nickel
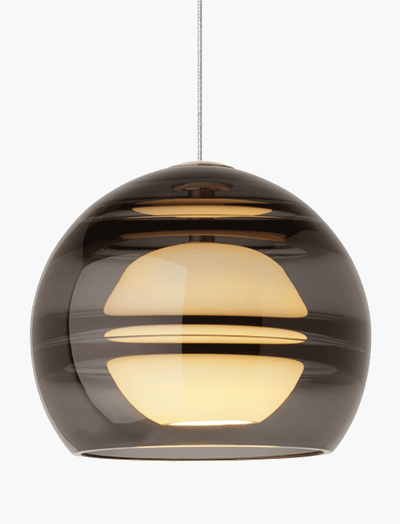
SEDONA MINI
Designer: Sean Lavin
Glass Options
- Clear
- Transparent
Finish Options
- Aged Brass
- Satin Nickel
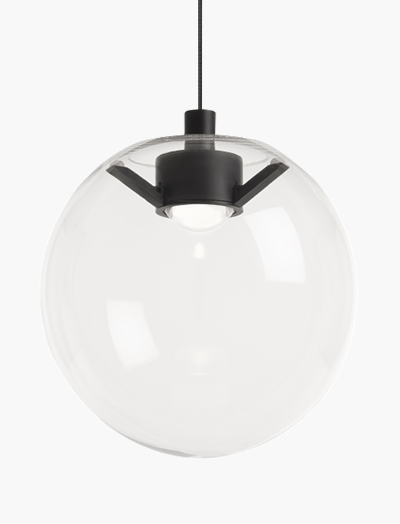
PALONA MINI
Designer: Sean Lavin
Glass Options
- Clear
Finish Options
- Natural Brass
- Nightshade Black
- Satin Nickel
JASPER MINI
Designer: Sean Lavin
Glass Options
- Clear
Finish Options
- Satin Nickel
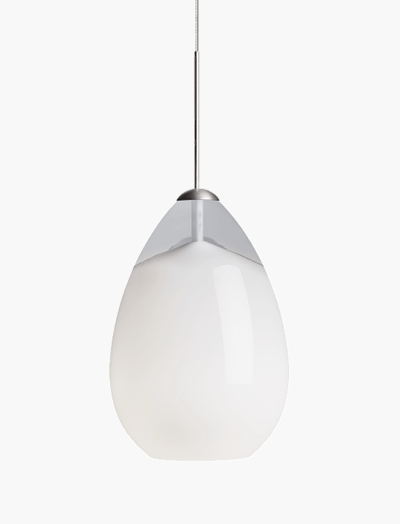
ALINA MINI
Designer: Sean Lavin
Glass Options
- Smoke
- Steel Blue
- White
Finish Options
- Antique Bronze
- Chrome
- Satin Nickel
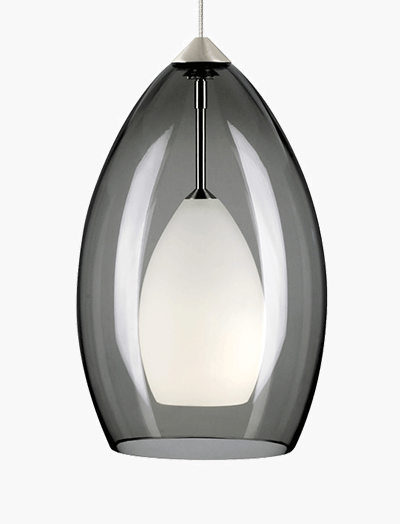
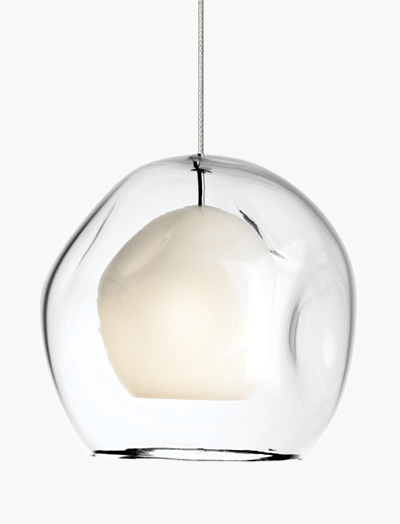
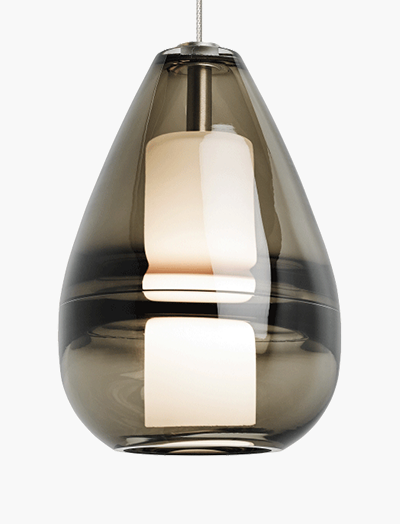
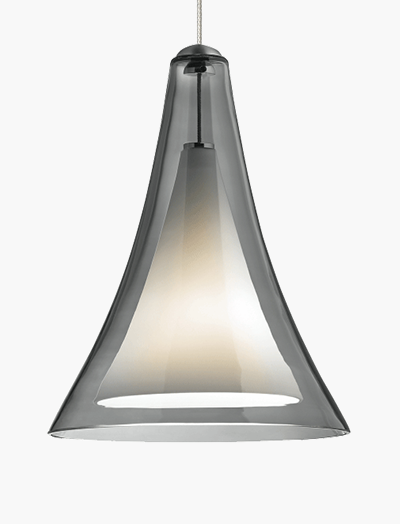
FIRE MINI
Designer: Sean Lavin
Glass Options
- Smoke
- Steel Blue
Finish Options
- Antique Bronze
- Chrome
- Satin Nickel
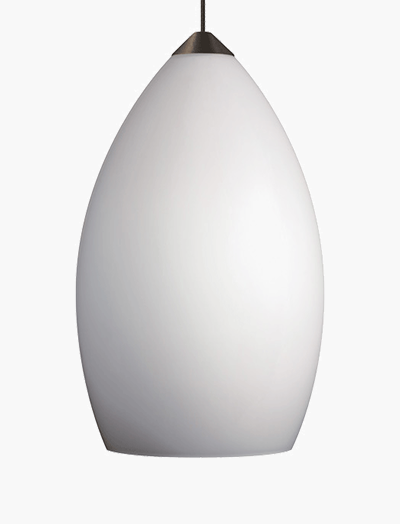
FIREFROST MINI
Designer: Sean Lavin
Glass Options
- White
Finish Options
- Satin Nickel
ELLA MINI
Designer: Sean Lavin
Glass Options
- Clear
- Smoke
Finish Options
- Antique Bronze
- Satin Nickel
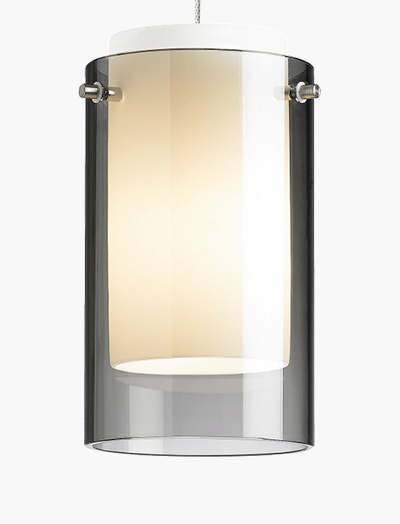
ECHO MINI
Designer: Sean Lavin
Glass Options
- Clear
- Smoke
- Steel Blue
Finish Options
- Antique Bronze
- Chrome
- Satin Nickel
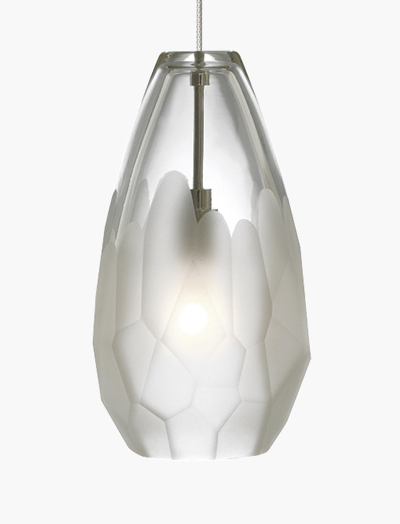
BRIOLETTE MINI
Designer: Sean Lavin
Glass Options
- Frost
- Smoke
Finish Options
- Antique Bronze
- Satin Nickel
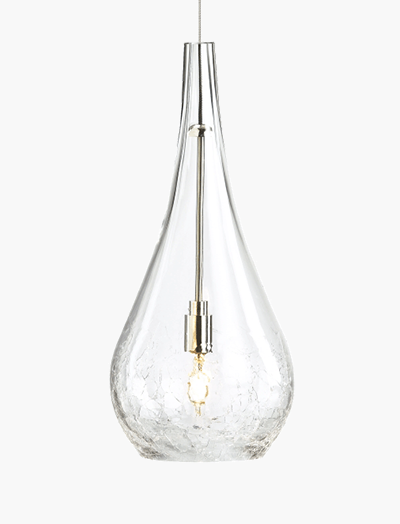
SEGURO MINI
Designer: Sean Lavin
Glass Options
- Clear
- Smoke
Finish Options
- Antique Bronze
- Satin Nickel
LEIGH MINI
Designer: Sean Lavin
Glass Options
- Clear
- Transparent Smoke
Finish Options
- Chrome
- Satin Nickel
HORIZON MINI
Designer: Sean Lavin
Glass Options
- Frost
Finish Options
- Satin Nickel
LUSTRA MINI
Designer: Sean Lavin
Glass Options
- White
- Smoke
Finish Options
- Antique Bronze
- Chrome
- Satin Nickel
SELINA MINI
Designer: Sean Lavin
Glass Options
- Steel Blue
- White
Finish Options
- Antique Bronze
- Chrome
- Satin Nickel
SARA MINI
Designer: Sean Lavin
Glass Options
- Clear
Finish Options
- Satin Nickel
SOLITUDE MINI
Designer: Sean Lavin
Glass Options
- Frost
Finish Options
- Aged Brass
- Satin Nickel
MELROSE II MINI
Designer: Sean Lavin
Glass Options
- Clear
- Smoke
Finish Options
- Antique Bronze
- Chrome
- Satin Nickel
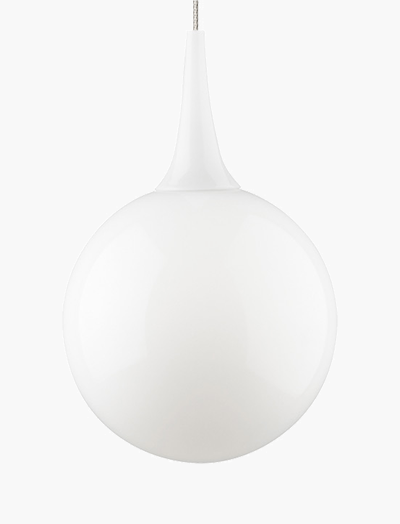
PELE MINI
Designer: Sean Lavin
Glass Options
- White
Finish Options
- Satin Nickel
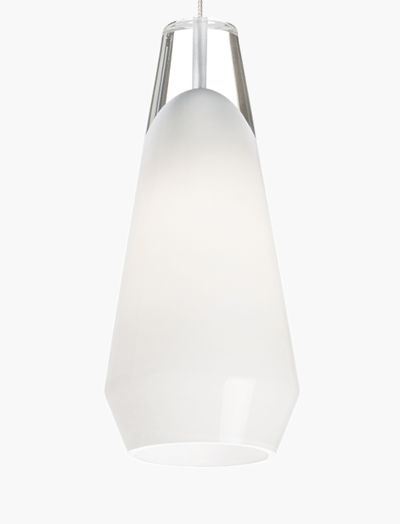
ZENITH MINI LARGE
Designer: Sean Lavin
Glass Options
- Smoke
- Steel Blue
- White
Finish Options
- Antique Bronze
- Chrome
- Satin Nickel
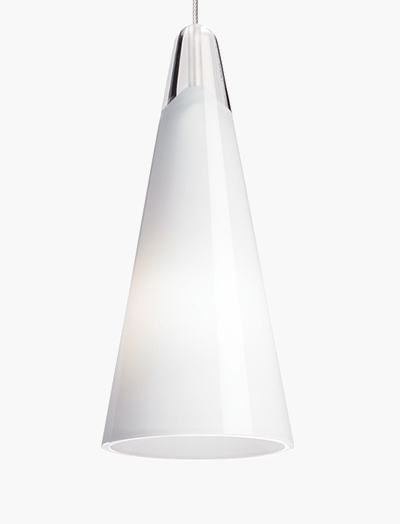
ZENITH MINI SMALL
Designer: Sean Lavin
Glass Options
- Smoke
- Steel Blue
- White
Finish Options
- Antique Bronze
- Chrome
- Satin Nickel
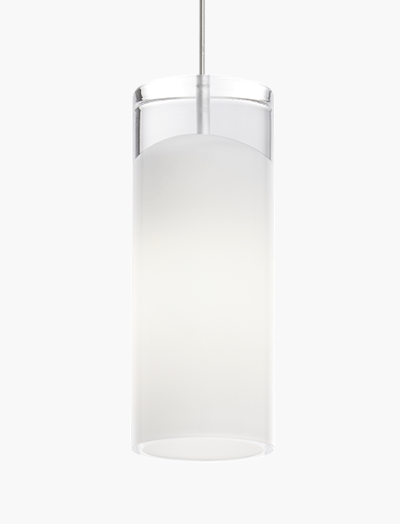
MEZZ MINI
Designer: Sean Lavin
Glass Options
- Clear
- Transparent Smoke
Finish Options
- Black
- Satin Nickel
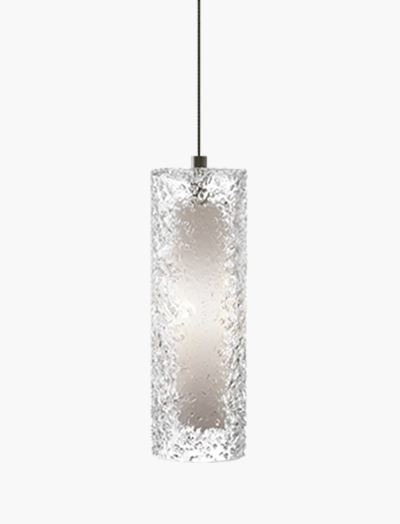
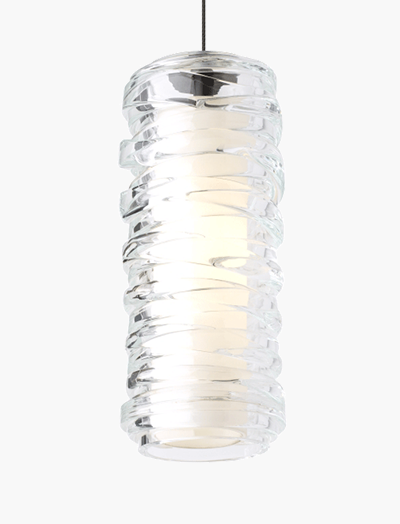
ROCK CANDY MINI
Designer: Sean Lavin
Glass Options
- Clear
- Smoke
Finish Options
- Antique Bronze
- Satin Nickel
Power Supply
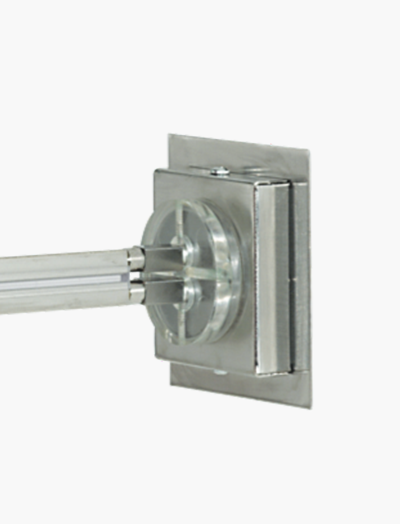
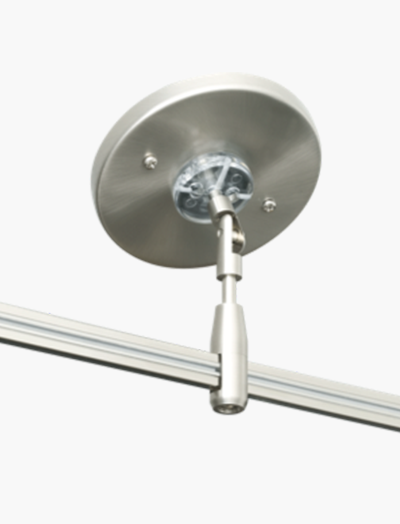
2” SQUARE DIRECT-END
POWER FEED
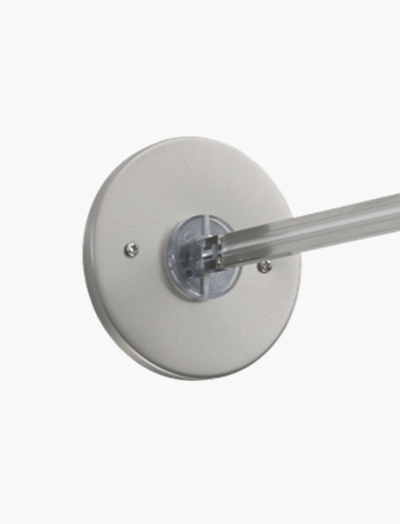
4” ROUND DIRECT-END
POWER FEED
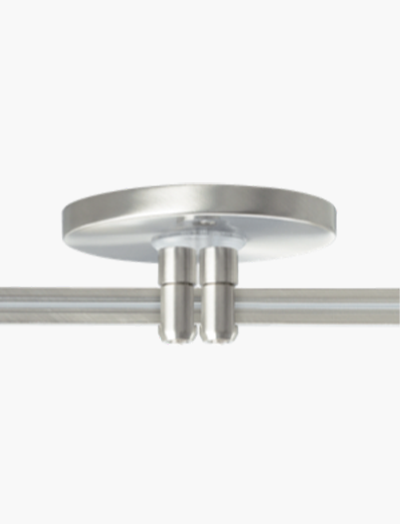
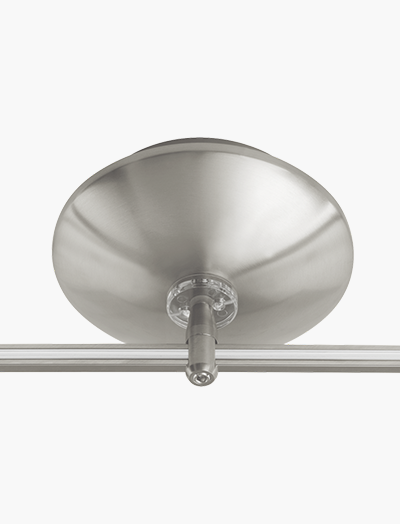
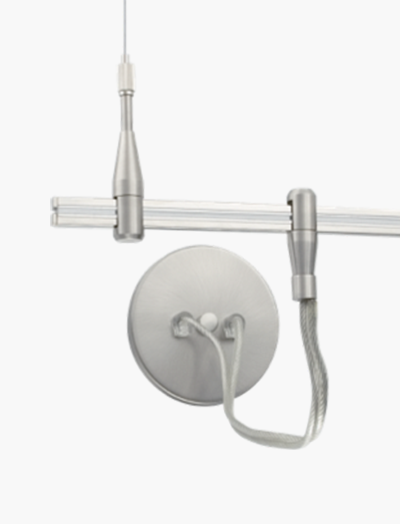
4” ROUND POWER FEED
CANOPY DUAL FEED
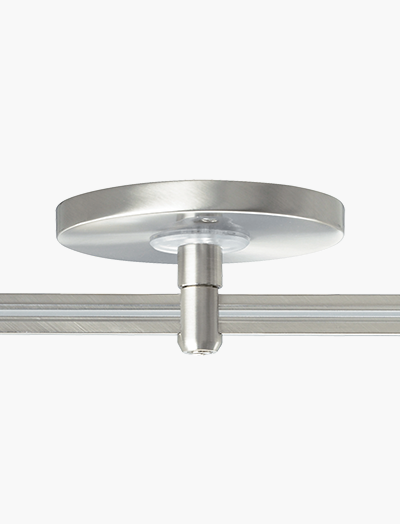
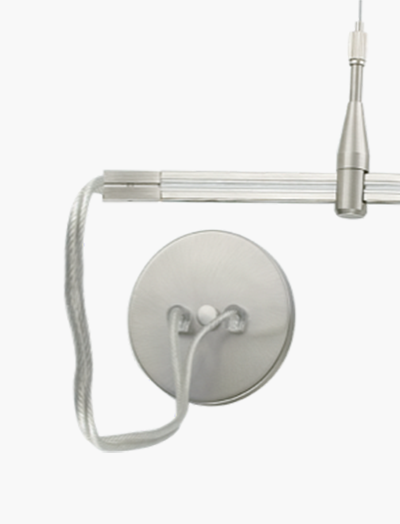
4” ROUND POWER FEED CANOPY LOW-PROFILE SINGLE-FEED

4” ROUND POWER FEED
CANOPY SINGLE-FEED
4” CANOPY CENTER
END POWER FEED
4” DIRECT-END
POWER FEED
POWER OUTSIDE RIGGER
POWER VAULT ADAPTER
CENTER POWER FEED
DUAL-FEED
SURFACE TRANSFORMER-
150W MAG
SURFACE TRANSFORMER-
300W EL
SURFACE TRANSFORMER-
300W MAG
SURFACE TRANSFORMER-
600W MAG
SURFACE TRANSFORMER-
60W EL
SURFACE TRANSFORMER-
75W MAG
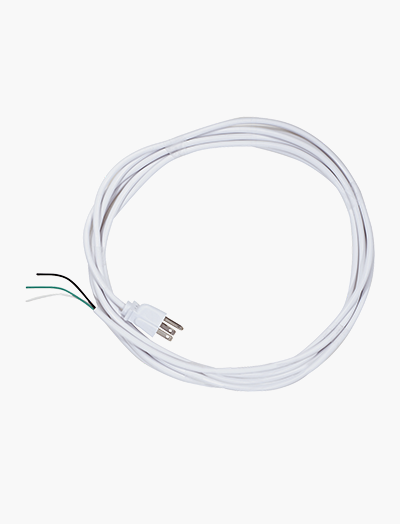
REMOTE TRANSFORMER-
150W EL 12V LED
REMOTE TRANSFORMER-
150W MAG 12V
REMOTE TRANSFORMER-
300W EL 12V
REMOTE TRANSFORMER-
300W EL 12V LED
REMOTE TRANSFORMER-
300W MAG 12V
REMOTE TRANSFORMER-
300W MAG 24V
REMOTE TRANSFORMER-
600 MAG 12V
REMOTE TRANSFORMER-
600W MAG 24V
REMOTE TRANSFORMER-
60W EL 12V LED
REMOTE TRANSFORMER-
75W MAG 12V
Accessories
POWER EXTENDERS